IMPORTANT: each paint will have a specific prep system. read and follow this system to the letter. failing to apply bottom paint correctly can result in a lot of problems … the biggest being the boat’s bottom becomes covered with a small biosphere of animals.
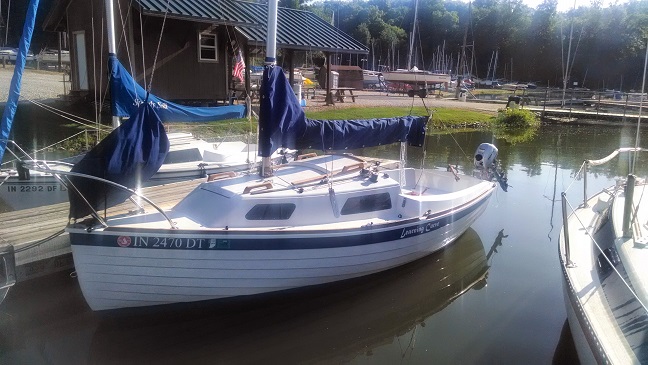
For a new boat, or a boat that has never been bottom painted, the first step is ‘shooting the waterline‘. There are many ways to do this: water hose method, string and a level, or a laser level. These all assume you know where the waterline should be … not always obvious when the boat is brand new.
On an older boat you can usually see a ‘ring’ around the boat that shows the waterline. The other challenge is the waterline can change depending on how much weight (ie, crew, food, safety items, beer, etc.) is loaded into the boat and where that weight is located. What you don’t want to do is paint the bottom and stop exactly at the boat’s waterline. If you do critters will grow along the waterline and a few inches above. Why? Waves. Even at the dock and no one aboard there will be waves caused by passing boats and wind. I recommend a relief of two inches above the actual waterline.

Besides keeping biology from growing above the boat’s actual waterline this methods creates a boot strip when the boat is in the water.
Once you know where the actual waterline is located you then mark where the ‘painted waterline’ will be located. I use a few short sections of blue painter’s tape at & near the bow and at & near the stern.

Now clean the approximate area where you will place the waterline on the port & starboard hull sides and the transom (don’t forget the transom!). You are cleaning the hull so the tape will leave a good clean line when removed. Use the recommended cleaner for the bottom paint you will be using on the hull. Some cleaners require multiple ‘cleanings’. Follow the instructions to the letter. Using a cleaner not recommended by the paint manufacturer can result in undesirable chemical reactions. Make the ‘cleaned’ area about 6″ tall to ensure you cleaned the hull where the tape will be applied.
Couple of things to consider in choosing tape. Blue tapes, besides making a clean, meaning no paint going under the tape, line when removed also don’t stick like standard ‘tan’ masking tape. There are many types of blue tape so read the labels. You want a tape that will:
- come off easily. Usually the tape label will state how many days it can be ‘stuck’ and still come off.
- can be used outdoors and will not become permanently stuck when exposed to sunlight. Cheap ‘tan’ masking tape will not come off if left outdoors as it is degraded by UV light.
- if you are painting outdoors the tape can get wet … such as when you are washing the hull (more on this later), it rains, or there is heavy dew or fog.
Now make sure the boat is level and on her lines. To do this you can use a carpenter’s level set at a location that is flat when the boat is on her lines. Ask around for your specific brand/model of boat to identify this location. I know the following are true: on a Sage 17, Montgomery 17 and Montgomery 15 the cockpit seats, not the cockpit floor, are level when the boat is on her lines. So when shooting a waterline on a Sage 17 I level the boat using the cockpit seats.


I use a laser level to shoot the waterline on the Sage 17s. First I level the boat and then set the laser level so the light beam is straight going from the bow and stern tape marks (as outlined above). I then pull blue tape along the laser line. Wear eye protection, usually provided with the laser level, when pulling the tape along the laser line as the light can cause significant eye damage. Another hit … shoot the waterline in a dim location or at night so you can see the laser reflecting off the hull.
If your boat has bottom paint, and the prior paint job has enough relief above the actual water line, all you need to do is clean non-bottom-painted section of hull where the paint stops (remember, use the paint manufacturer’s recommended cleaner) and apply blue tape.
Another issue for some boat owners is how to make a straight line on a boat with lapstrakes, such as the Sage 17. The ‘laps’ make putting a straight line a challenge as you pull the tape along the waterline. Up close, and from the right angle you can see the tape line isn’t straight.
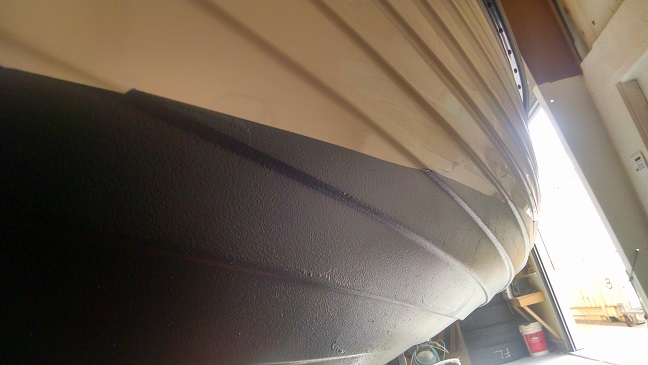
But, from a few feet away and when looking at the boat how she will appear on the water the line will appear straight. Trust me, you need to think how the boat will look on the water, not when on the trailer.

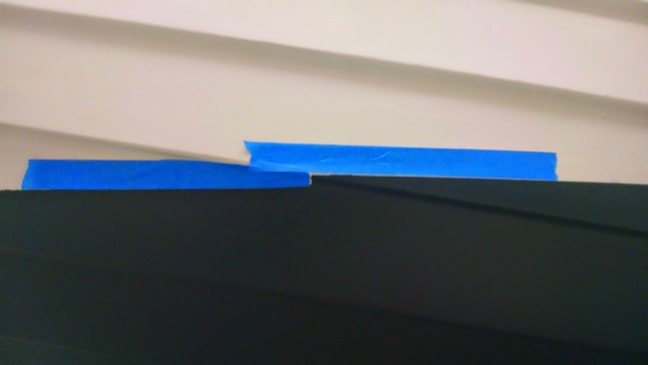
When using a laser level to shoot a waterline the light beam will conform to the lapstrakes as you see in the pictures above. My system when pulling a tape line is to pull across the lapstrake, or ‘a lap’ or a ‘strake’, put a finger on the tape under the crossover point and rip the tape. I then start ‘pulling the line’ with the tape above the strake.

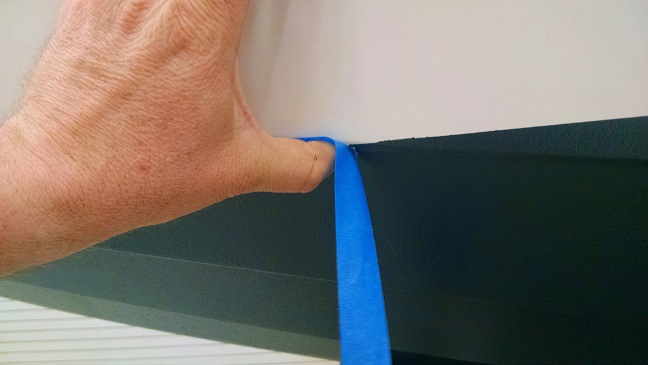
The tape is ripped across the transition from one strake to another.
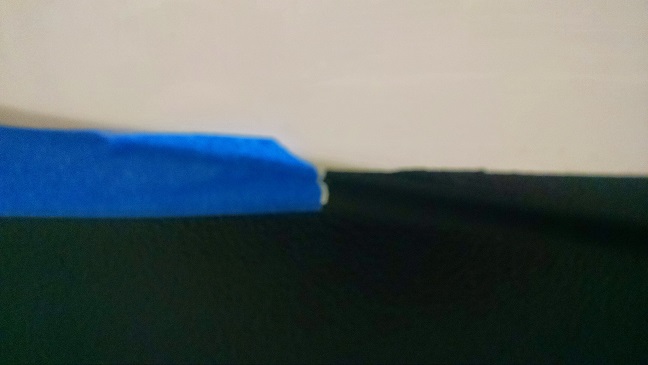
Apply tape above the lapstrake so the line is continues straight.
Again, step back from the boat and look from an angle as the boat will appear when on the water. The line will appear straight, even though you have these ‘zig zags’ going across the lapstrakes.

Once you have taped the waterline with the 2″ relief you now need to prep the bottom for painting … a topic for another blog post.
– Dave
NOTE: I originally posted this April 2015 on Sage Marine’s BLOG. In a short time the BLOG will be closed – stupidly. I am reposting this information so it is not lost.
